11/24/12

Blue Christmas - stila holiday series look #2

Hello lovelies,

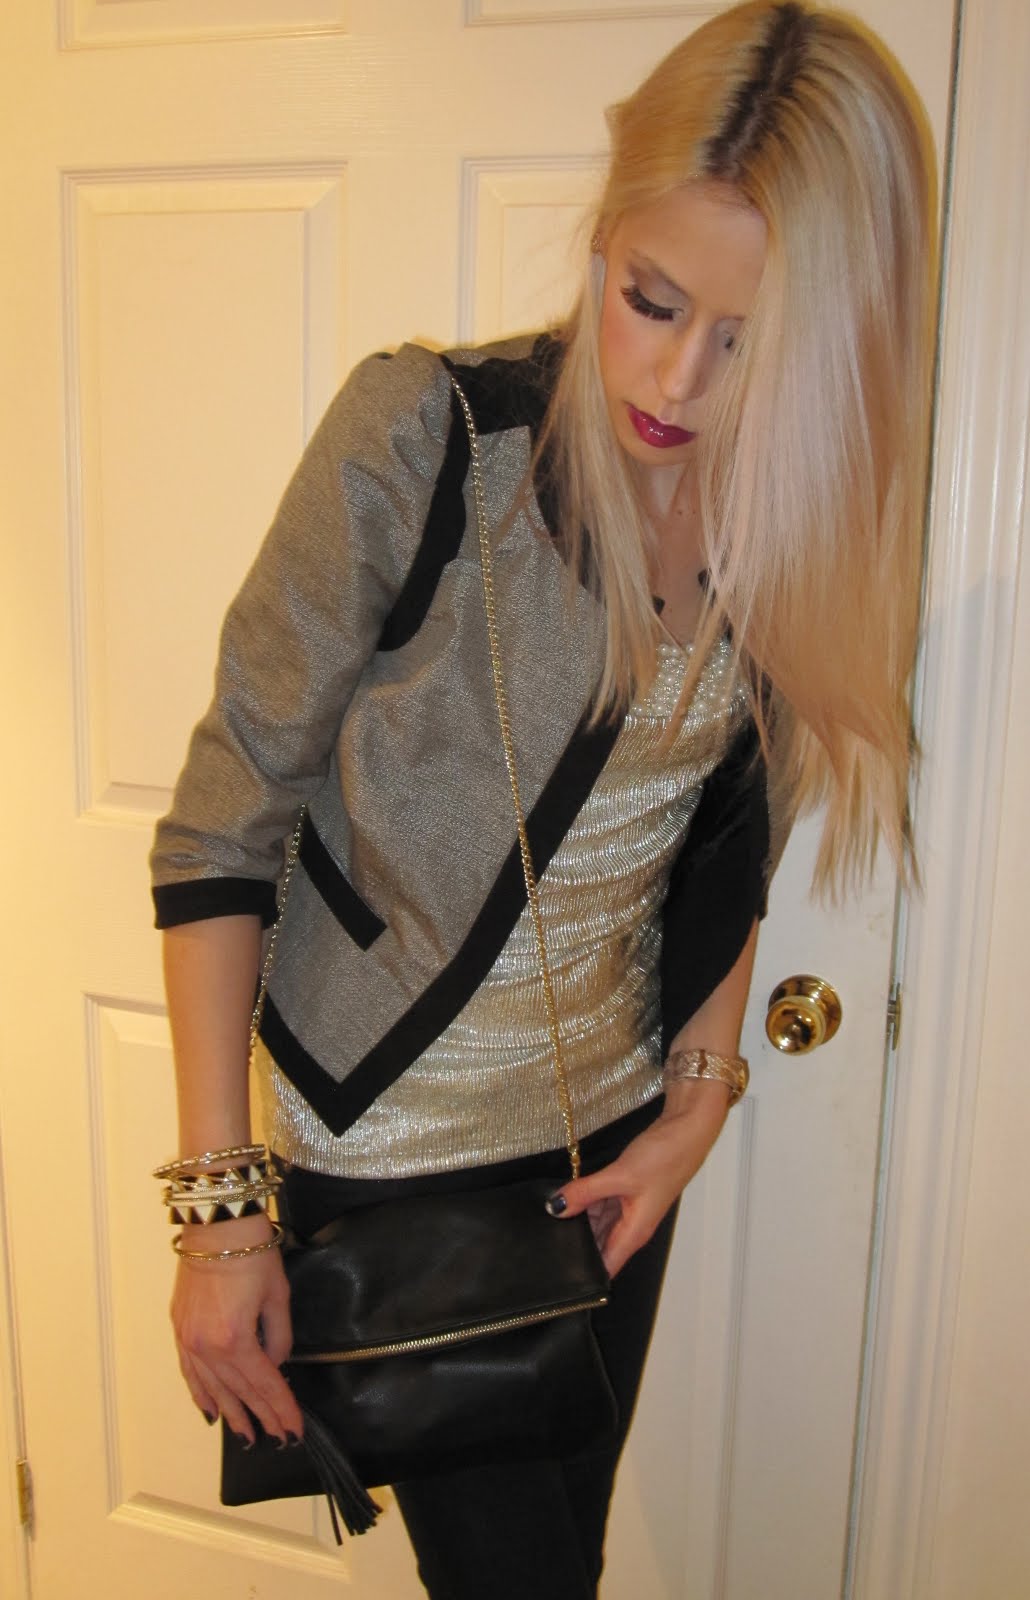
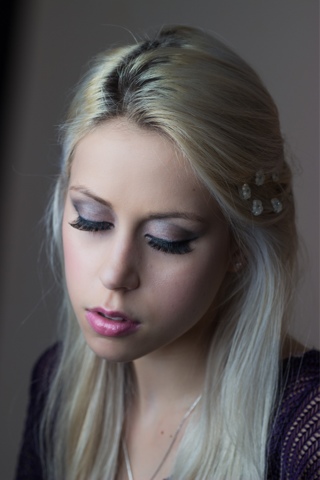
I am in love with this look. The slight smokeyness and blue on the eyes, makes this the perfect look for any holiday night out. Where this look to work dinner party or even a New Years party. Jazz up the lips with a darker colour for more of a sultry romantic look.


Here are the steps in creating look #2 of my Stila holiday makeup series...

Step1: prime eyes with hard candy sheer envy primer
Step2: using the stila snow angel palette brush #19 eggnog all over lid up to brow bone
Step3: lightly pat #22 merry on the inner corner of your eyelid
Step4: pat on #20 icicle on the rest of your eyelid up to the crease
Step5: using a crease brush blend #28 coal into your crease and also create that "v" shape in your outter corner blend out for a smokey eye
Step6: brush #23 kitten over crease line to blend and also up to brow bone as a highlight
Step7: using a pencil brush take #28 coal and #20 icicle to line your lower lash line to the centre
Step8: Take your stila Stargazer smudge stick waterproof eye liner and line your upper lash line and lower lash line (on top of step #7). Create a slight wing at the end
Step9: using a shimmery white eyeliner line the rest of your lower lash line and water line (mine is from NYC)
Step10: curl your lashes and apply stila's stay all day waterproof mascara for look that will last all night
Step 11: apply your favourite Ardell lashes (I used 120 demi) and bat those purtty eyes!!!

For contour use #12 Shimmery plum
For the perfect pink cheek blend #8 Shimmery peach blush and #3 Shimmery coral blush

For lips I used Mac snob lipstick and stila lip glaze in jolly on top.

You are now ready to rock around the Christmas tree and/or party into the new year with this look!!!


I hope you all enjoyed this look, please leave any and all comments below, I would love to read your feedback and/or thoughts.


Have an awesome night (or morning, depending on when you read this)!!!!!

*(photos by ©Frank Arzaga Photography, for bookings and/or inquiries please contact me by email listed in the sidebar and to view more pictures click here: http://500px.com/frank_arzaga)

xoxo
annpaige

11/20/12

Warm and cozy ootd with hot coco

Hello lovelies,

Today was just a nice and relaxing day for me. I worked a few hours in the morning and then came home, where I cleaned and watched some tv for a bit.

My boyfriends cousin just had his second baby (first girl) with his girlfriend and we went to go see them and the baby is so small and cute. Her hands were so little and ugh she was just adorable.

For this evening we rented the movie Brave (surprisingly my boyfriend really wants to see it), so we are going to have a quiet night at home with our movie, chocolate chip cookies and of course hot chocolate. I am currently obsessed with YouTube and I love MacBarbie07/bethanyslife's channel and she had a salted caramel hot chocolate recipe in one of her videos and I had to make and add a few things to. This recipe is perfect for a cold winter/fall day, or just any day you are relaxing and really just want some hot coco.

- Boil 1 cup of milk per person in the stove (be sure to keep stirring the milk so it doesn't stick to the bottom of the pot)
- In the bottom of your mug add some caramel sauce
- Add in your fav hot coco (mine is rolo...yumm) to your milk and stir
- Pour your hot chocolate into your caramel filled mug and stir
- Add 1/4 teaspoon of table or sea salt and stir (sea salt is better, but either will work)
- Add 1 tsp of peanut butter and stir until it is all melted and mixed
- You can also add some whipped cream on top and drizzle some caramel over the whipped cream like Macbarbie07 does

Here is my outfit for the day...
Sweater tunic; I am in love this sweater, it is so warms and cozy, plus it has a hood- rickis
Jeggings - garage
Knitted beanie - smart set (old)

For make up I used my stila snow angel palette for eyes and cheeks and one colour from my naked 2.
If you want a full tutorial on this look let me know in the comments below!!


I hope you all have an awesome cozy night and let me know if you try the hot chocolate recipe!!!!

xoxo
annpaige


11/13/12

Stila Holiday Series - Makeup look #1

Hello lovelies,

Sorry this post took a few days longer to get up than I had anticipated, but none the less as promised here is look #1 from my Stila Holiday series that I will be doing!!!

This is the makeup look that I had for the Stila and Adrell launch party from last week. The first part of the tutorial is going to be the makeup that I had prior to the artists doing my makeup at the event and then I will explain how they enhanced and holiday-fied up my look. (I'm not going to go through my foundation and concealer because I have explained it in previous posts)

For contour I used hard candy's baked bronzer in tropics, because I didn't want anything too dark or harsh and this bronzer also has a light golden shimmer to it, perfect for any holiday look. And as for blush I used my maybelline blush trio in purley plum, using a blend of all three colours.

Eyes:
Step1: Prime your eyelids, I am currently using the Hard Candy Sheer envy primer for my face and eyes (which I will soon be doing a review on, because I love it!!!)
Step2: pat foxy(ud nkd2) all over lid as a base
Step3: apply a golden champagne colour all over lid - I used a colour from my maybelline trio (I can't remember the name)
Step4: brush mac rare find mineralized shadow into crease and blend
Step5: pat verve(ud nkd2) into inner corner and also on the inner part of your lower lash line
Step6: lightly pat ydk(ud nkd2) in the middle of the lid and blend on both sides
Step7: use rare find again on the centre to outside of the lower lash line, meeting with verve.
Step8: let's line our upper lash line - mac dark diversion fluid line; create a very slight wing, not too dramatic. Also use this liner on the outer to centre lower lash line
Step9: highlight brow bone using bootycall(ud nkd2)
Step10: line water line with a white shimmery eyeliner
Step11: apply your favourite mascara for a dramatic full lash
Lips:
Step1: use your favourtie chapstick - Ever since I was a kid I have always loved my lip smackers, dr. pepper is my favourite.
Step2: apply a plum purple lip liner as a base all over lips and smudge - or in my case a plum kohl eyeliner, because I did not have a purple lip liner with me. - Rimmel 040 Purple Passion kohl eyeliner
Step3: Lipstick time - use a bright fuscia colour to tone down the purple, so it is not too dark - Rimmel moisture renew 340 lily extase

And that is my look, now to glam it up just the way the stila makeup artist did, here is what you need to do....


Eyes:
Step1: Using the stila Snow Angel Colour Palette - to enhance the eyelid lightly pat on jingle no.24
Step2: to add some definition to the crease use fairy no.30
Step3: to blend and highlight use kitten no.23
Step4: apply your favourite dramatic ardell lashes

Cheeks: Blend together matte plum no.11 and matte berry no.6 blushes, for a light plum cheek
Lips: apply black cherry no.27 lip glaze


We have now completed our look. yay!!!!

I hope you all enjoyed the first look of my weekly holiday makeup series. Please leave all comments and requested looks that you want to see me do below.


Thanks for reading and I hope you all have an amazing day!!!


follow me on twitter for daily updates!!! @annpaige

xoxo
annpaige

11/8/12

STILA's new Holiday collection ft. Ardell

Hello lovelies,


Tonight I had the pleasure of attending the holiday launch party for STILA cosmetics and ARDELL lashes as a Vervegirl rep. The event was amazing, we got glammed up and lashed up.

STILA's new holiday collection is abosolutely gorgeous. The colour palettes are perfect for every skin tone and they are super easy to work with. The packaging in itself is enough reason to purchase any of the products.

The event took place at Wish cafe downtown and it was the perfect setting. White walls and currents cascading from the ceiling with low lighting all over and couches to lounge on, made you feel welcome and at home. Hor dourves and an open bar with their signature cocktail of the night made it a great environment to sit down and connect with other bloggers and industry gals.

When you first walk in they had a little station set up where you can put together a gift set with STILA and Ardell products to be given as a Christmas gift to a woman in need through the YWCA (www.ywcatoronto.org). We also got to write a little personalized message to put in the gift box, which I thought was just amazing. After putting together the gift boxes around the corner they had another station set up where you get your makeup done or touched up and also get lashed up by STILA and Ardell makeup artists. Me being me, I already went with my makeup done, so the makeup artist just jazzed me up a bit and added some sparkle to my eyes using the Snow Angel Colour palette and she also added a little plum to my cheeks, because I already had some plumy purple lips going on. To enhance the purple I already had on my lips she used Black Cherry lip glaze to add some shine and make my lips pop even more. After my makeup was holiday-fied an artist from Ardell gave me a great pair of falsies to finish off my holiday look!!! (did you know Ardell lashes are made of real human hair and you can wear them every day for two weeks straight, because I just learned that tonight!!!)

Through out the event I met some great people, that I hope to stay in touch with and we also got some awesome goodie bags, with their whole holiday collection inside!!!! I was totally not expecting to get as much as they gave us.

For my outfit I wore:
Black jeggings: guess
Pearl trim gold top: ricki's
Chanel tweed cropped jacket: ricki's
Watch: aldo
Bracelets: fr21
Purse: H&M (which I am totally loving right now, because it has two compartments and folds over!!)


For my makeup I will dedicate a post just for the look, so I can do a step by step how to and I don't want to make this post incredibly long..

The Gift box that I made
The Holiday Collection!!!


I plan to do a series of Holiday makeup tutorials featuring these palettes once a week, starting with my first post of this look in the next couple of days. (let me know if you like this idea)

If you have any specific makeup looks/tutorials that you want to see me do then please comment below, because I have been getting a great response from the looks I have recently posted

Thanks a bunch lovelies!!!

xoxoannpaige

Featured Post

My platinum journey - brunette to platinum blonde (before and after)

Hello lovelies, Looking back at all of my posts, my bleached locks to ash blonde hair (which I have now deleted due to the quailty) post,...